Sod Installation: Tips for Homeowners
Highly recommend!
Are you a homeowner looking to achieve a beautiful, lush lawn in no time? Sod installation might just be the solution for you! Unlike seeding, sod installation provides an immediate solution, giving you an established lawn instantly. In this blog, we’ll walk you through everything you need to know about sod installation, including the reasons why sod might be the better choice for your lawn, how to properly prepare your lawn for installation, and the importance of grading and leveling. By the end of this blog, you’ll be well-equipped with the knowledge needed to have a successful sod installation and a healthy, thriving lawn. So let’s dive in and get started!
Understanding Sod Installation
Before we jump into the specifics of sod installation, let’s first understand what it entails. Sod installation involves laying down pre-grown grass, also known as sod, onto a prepared soil surface. This gives you an instant new lawn, complete with healthy plants and stronger roots. Sod is usually sold in square feet measurements, and each sod piece consists of turf, soil, and roots, making it easy to lay down and establish.
Why Choose Sod over Seeding?
Now, you might be wondering, why choose sod installation over seeding? There are several reasons why sod installation can be beneficial for homeowners.
Firstly, sod installation is not affected by winter dormancy like seeding. When you seed your lawn, it takes time for the grass to grow and establish, especially during colder months. However, sod installation eliminates this wait time, giving you a healthy lawn all year round, regardless of the season.
Secondly, sod installation requires less water compared to seeding. Sod is already grown, with roots that have already established and absorbed essential nutrients from the soil. This means less frequent watering for you, ultimately saving water and reducing your water bill.
Another advantage of sod installation is its faster installation time. Laying sod pieces onto your lawn is much quicker than seeding, which involves spreading seed, waiting for it to germinate, and then nurturing the young plants. With sod, you can enjoy the benefits of a new lawn almost instantly, without the long waiting period.
In summary, sod installation offers a convenient and time-saving solution for homeowners who desire a healthy lawn throughout the year, require less water, and want a faster installation process. Now that we understand the benefits of sod installation, let’s move on to preparing your lawn for sod installation.
Preparing Your Lawn for Sod Installation
Proper soil preparation is crucial for successful sod installation. Before laying down new sod, you’ll need to start by removing the old grass and any weeds. This can be done by using a sod cutter or manually with a shovel. Once the old grass is removed, it’s time to prepare the soil for the new sod installation.
One important step is soil amendments. This involves adding organic matter, such as compost or manure, to improve soil nutrition and consistency. You may also consider performing a soil sample test to determine if any additional amendments, such as granular fertilizer, are needed for optimal sod growth. Additionally, if your soil is of poor quality, you may need to bring in new soil to create a suitable growing environment for the sod.
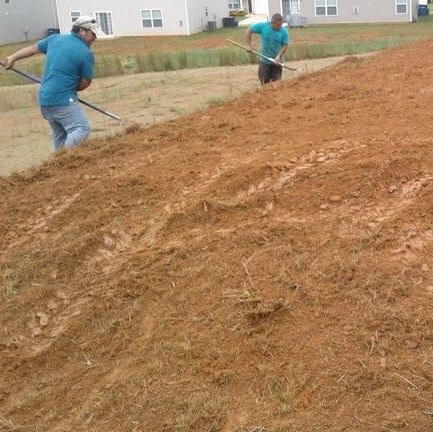
Grading and Leveling
Once you have prepared the soil, the next step is grading and leveling. This process ensures an even surface for sod installation and promotes proper drainage. Here are some key considerations for grading and leveling:
- Consistency: The soil should be evenly compacted to prevent any low or high spots. This will help ensure that the sod pieces lay flat and establish roots properly.
- Drainage: Proper grading and leveling prevent water puddles and promote consistent moisture throughout the lawn. This is essential for healthy sod growth and minimizing the risk of water-related issues.
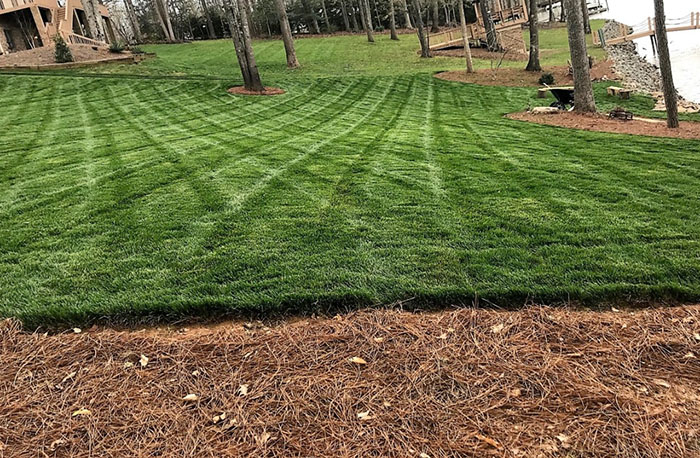
- Visual Appeal: Grading and leveling contribute to a visually appealing lawn after sod installation. A smooth, even surface enhances the overall aesthetics of your lawn.
- To achieve successful grading and leveling, here are a few steps to follow:
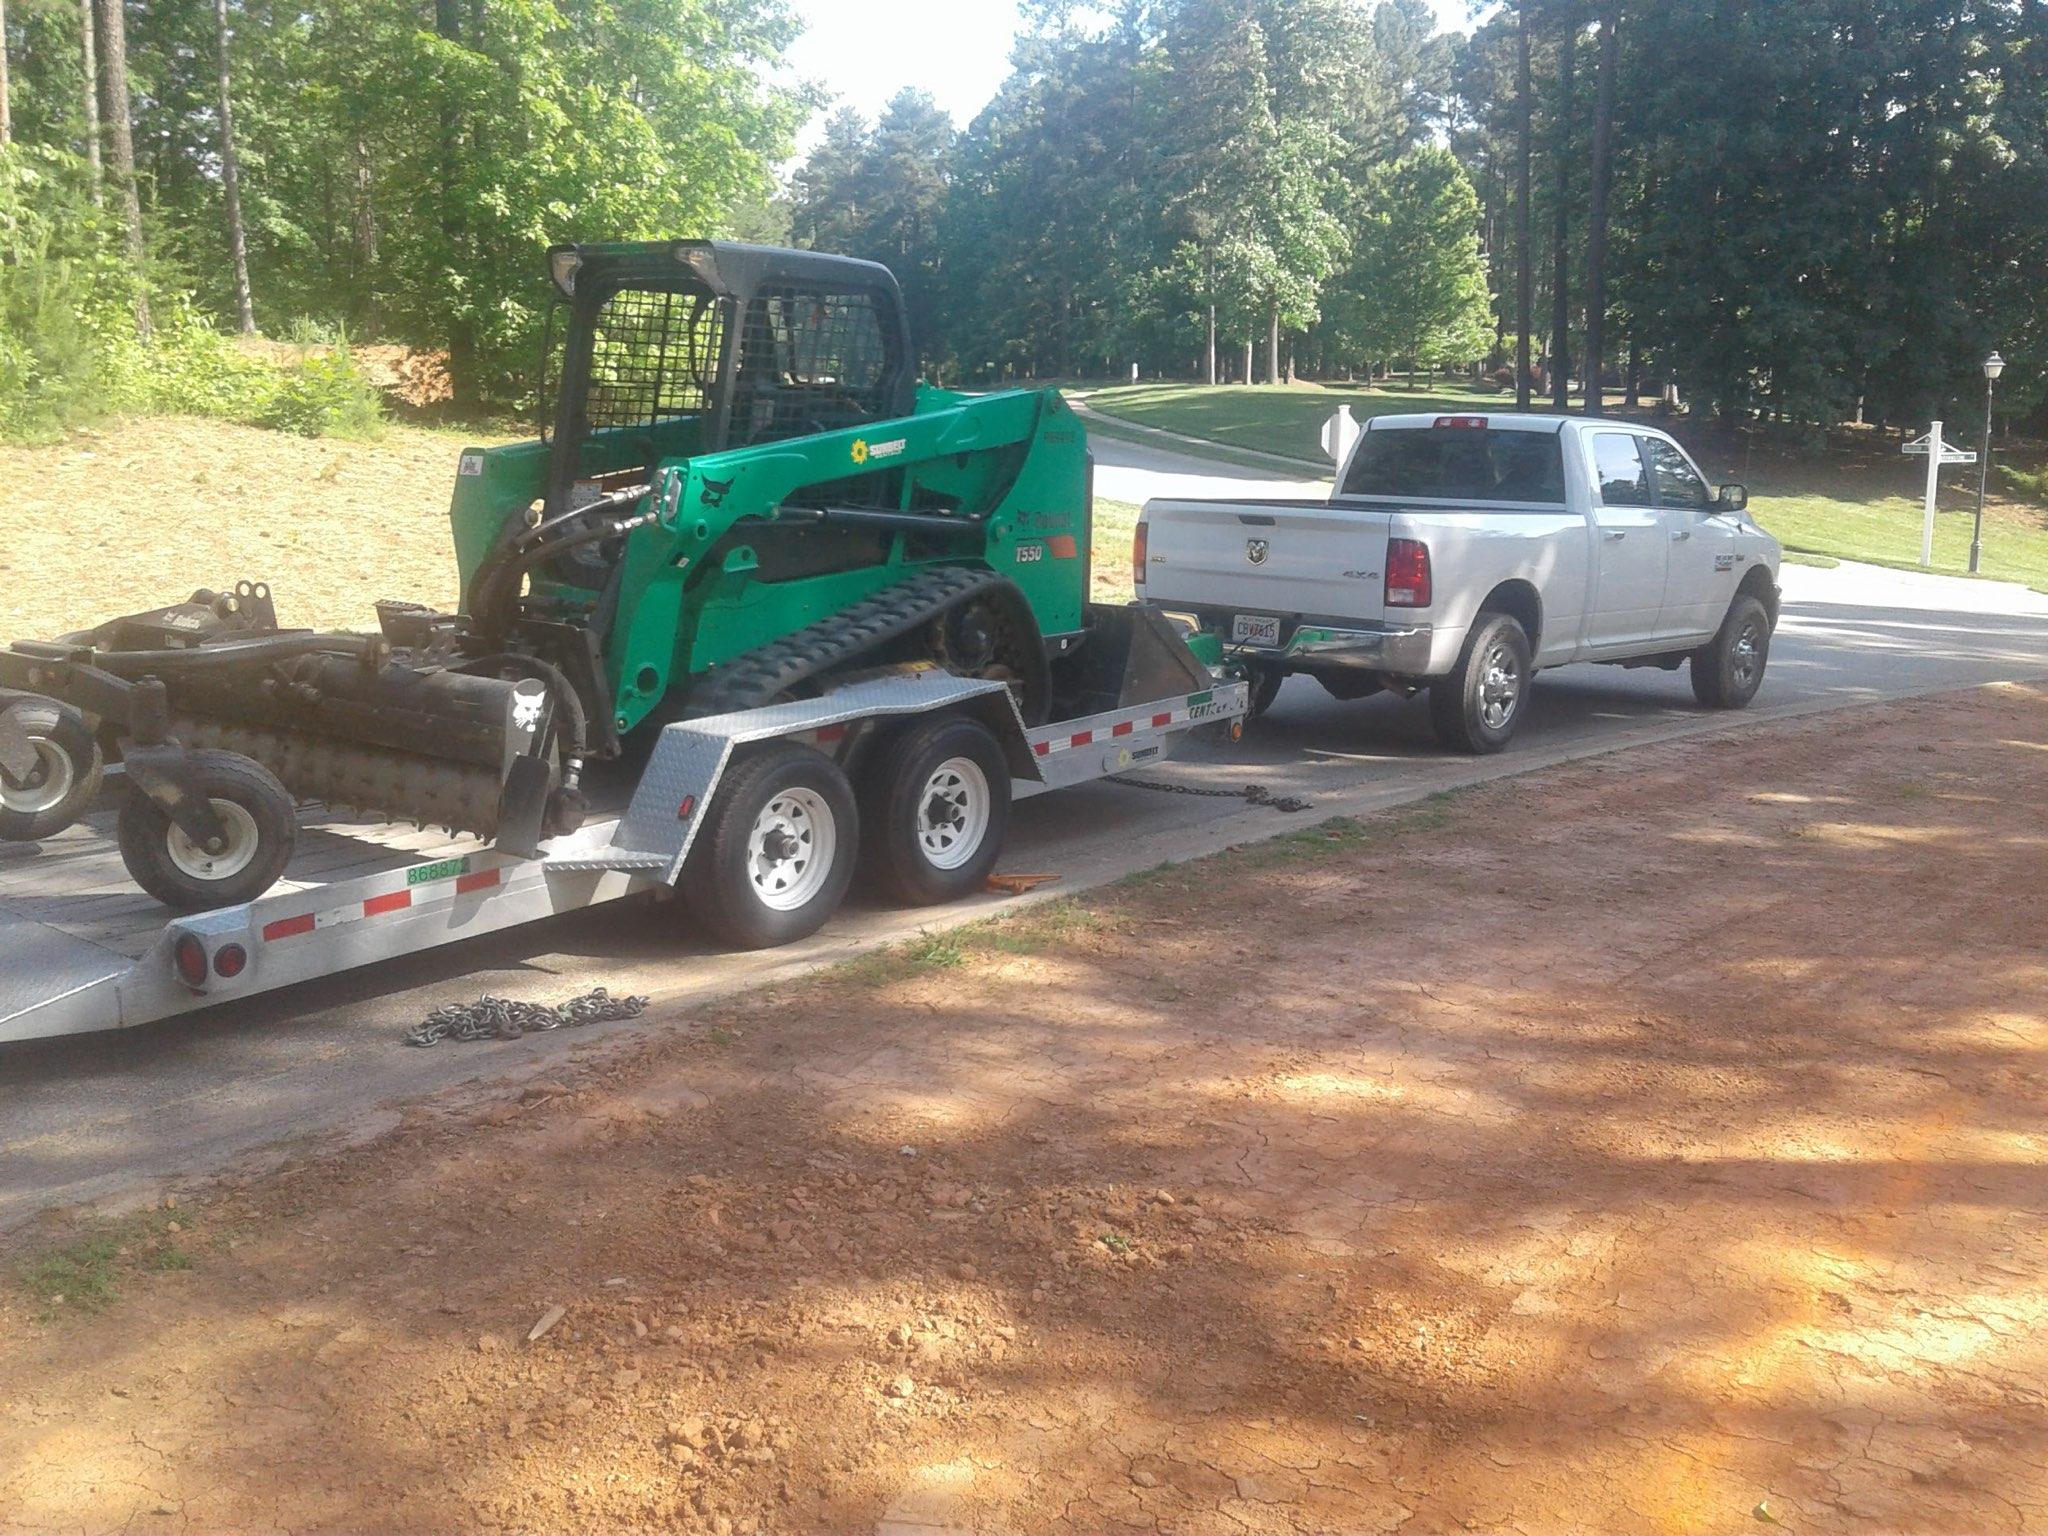
- Step 1: Use a tractor or garden rake to remove any rocks, debris, or vegetation from the area where you’ll be installing the sod.
- Step 2: Fill in any low spots with soil, ensuring it is tightly packed.
- Step 3: Use a garden hose or string level to check for any unevenness. Adjust the soil as needed until you achieve a consistent, level surface.
- Step 4: Finally, use a lawn roller to compact the soil, creating a firm foundation for the sod installation.
- By following these steps, you’ll create the ideal environment for laying sod, promoting healthy growth and establishing a beautiful lawn.
Choosing sod for your lawn installation provides numerous advantages over traditional seeding methods. The instant green and lush appearance, along with the reduced time and effort for establishment, make sod a popular choice among homeowners. Before installing sod, it is crucial to properly prepare your lawn by grading and leveling the land to ensure a smooth and even surface. By following these steps, you can achieve a beautiful and healthy lawn that will enhance the curb appeal of your home. Remember to water and care for your newly installed sod diligently to promote its growth and longevity. Enjoy your new, vibrant lawn!